








How to Take Halloween Outfit Photos at Home

Start with three photos: one that shows your whole Halloween outfit, one that gives its main detail room, and one that feels like you. Use the clothes you have already chosen, a phone, and a clear spot at home. Take a trial image before committing to a pose, then adjust what you can actually see in that image.
You do not need to turn your living room into a set. The aim is a small collection worth keeping, whether you want to remember a costume, send a friend your finished look, or save a photo of a seasonal sweater. Give each frame a different job instead of taking dozens of nearly identical pictures.
Decide What You Want the Photo to Show
Finish this sentence before you set down the phone: "I want to remember ___." For a personal outfit record, the answer might be the combination from head to shoes. For a character-inspired look, it might be the hat or accessory that makes the idea recognizable to you. For a seasonal top, it might simply be the front design and your expression. Choose one main priority for the first frame.
That priority gives you a way to judge the photo without reconsidering everything you are wearing. If your goal is to record the whole look, a portrait that stops at your waist is not finished, however much you like your smile. If the point is a tiny pin on a jacket, you can save that portrait and plan a separate close view rather than trying to make one picture explain everything.
Decide what belongs in the scene, too. You might want the familiar doorway where you get ready each year, or you might prefer a wall with nothing else in view. Keep an existing decoration if it adds something you want to remember. Leave it out if you find yourself arranging the entire room around it. Your outfit is already chosen; the next decision is how to record it, not what else to buy.
Set Up One Spot Before You Change Clothes
Choose somewhere you can stand comfortably and return to the phone without stepping over bags, cords, or decorations. Clear enough floor for your shoes and a little movement. Keep doors and walkways usable, especially if other people are getting ready nearby. Put away mail, screens, or personal items you would rather not include, and check any mirror visible behind you.
Use a stable phone support you already have, or ask someone to hold the phone. Skip a setup that depends on balancing it on a narrow ledge or stacking loose objects. If you cannot support it securely, simplify the plan: ask for a few handheld pictures when someone is available rather than building a precarious arrangement. You should be able to concentrate on the photograph without worrying about the phone falling.
Before changing, take a quick picture in the spot you expect to use. Check whether it includes the floor and enough space above your head. If you plan to wear a hat, hold it where it will sit and check again. When someone is helping, show them that trial image and explain what must stay inside the edges. "Please include my shoes and the top of my hat" is more useful than "Make it look good."
Try two nearby positions if the first picture is hard to read. You could face the window for one frame, then turn slightly for another, or compare your usual room light with a different light you already use. Look at your face and the part of the outfit you want to show, then choose the version you prefer. Treat this as a comparison in your own room, not a prescribed lighting formula. Once you have a workable spot, get dressed and make one final framing check.

Make a Three-Photo Shot List
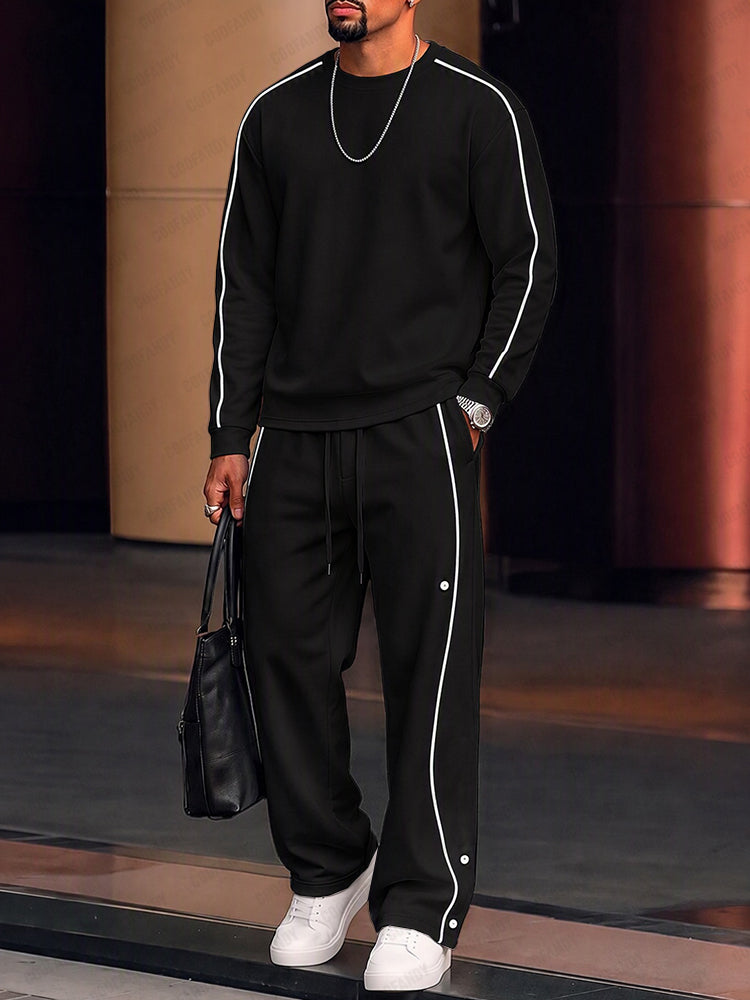
The full-outfit frame: show what you wore. Begin standing in a comfortable position with your head, clothing, and shoes inside the picture. Leave a little visible space around them so you can notice anything cut off before moving on. Try your arms resting at your sides first. If an accessory matters, hold it where it can be seen without covering the rest of the look.
Take a front-facing version, then try a small turn if you want another choice. Compare the two for the outfit itself: can you see the jacket opening, the length of the top, and the footwear you meant to record? Choose the position that explains your clothes. There is no need to pursue a particular angle because someone says it suits a certain body type.
The detail frame: show what the wider picture leaves small. Pick one subject rather than collecting every cuff, button, and accessory. It could be a graphic, a pin, or the way you have arranged a scarf. Bring that detail into a closer composition while leaving enough of the surrounding clothing to show where it belongs. For a pin, include part of the lapel; for a front design, keep its edges visible.
If you are considering a graphic top to photograph, our Halloween Ugly Knit Sweater Crewneck Graphic Pullover is labeled US Only. You do not need a new top for this shot. With whichever graphic garment you already plan to wear, choose the part of its design you want to record and check that your hands, scarf, or outer layer are not covering it. Let that choice guide the closer frame, rather than trying to reproduce a product photo.
The natural alternative: keep a picture that feels less arranged. After the straightforward views, try sitting on a sturdy chair you normally use, looking toward someone just outside the frame, or pausing beside your doorway as if ready to leave. Choose an ordinary position you find comfortable. This is an alternative mood, not a requirement to perform an elaborate action.
Give your hands one simple place to go. Rest them on your lap in a seated picture, leave one at your side, or hold an accessory you were already wearing. Take the picture, release the pose, and look at it. If sitting hides the detail, that can still be a useful third photo because the detail has its own frame. Keep one clear outfit record, one deliberate detail, and one more relaxed choice; each should earn its place for a different reason.

Fix the Frame, Not Your Whole Outfit
Your shoes or hat are cut off. Return to the full-outfit shot and look at the edges first. If there is safe space, try moving the phone farther away or changing where you stand. Ask a helper to check both the top and bottom before taking another picture. Make one adjustment and inspect it rather than changing the phone position, pose, and room all at once. If the room cannot accommodate the whole look, use another clear spot instead of squeezing yourself into an uncomfortable stance.
The important graphic or accessory disappears. Identify what is in front of it. Uncross your arms if they cover the design, move a hand away from the pin, or let the ends of a scarf rest elsewhere for the detail shot. If an outer layer belongs in your full outfit, keep that version and take an additional view with it held open. You are showing two views of the same clothes, not rebuilding the look around the photograph.
The room competes with you. Look for the particular object that keeps drawing your eye: a bright bag beside your shoes, a coat hanging behind your head, or a television left on. Move that object when practical, or shift the composition slightly and compare. You do not have to empty the room. If you like the setting but dislike one corner, try a second position that leaves that corner out while preserving the outfit view.
Your hands or expression feel forced. Start again from a resting position instead of adding more poses. Put down the extra decoration you picked up only for the picture. Try one hand resting beside a pocket, both hands loose, or a seated frame with your hands on your knees. Look at the result before deciding it needs another attempt. A quiet expression is a valid choice; you do not owe the camera a theatrical Halloween face.
For a group picture, agree on the purpose before everyone settles into place. If it is an outfit record, check that nobody's shoes are outside the frame and nobody's main detail is hidden behind someone else. Try a position with more space between people if the first image feels crowded. Then take individual detail frames rather than asking the group photo to show every small accessory. Check with everyone before sharing their image, and let each person choose whether to be included.
Choose a Small Set You Will Want to Keep
Look through the pictures in three groups: whole outfit, detail, and natural alternative. Choose one from each that does its job. When two full-outfit pictures are nearly identical, compare the edges, the visibility of the clothes, and your expression. Keep the one you prefer rather than saving both simply because you took them. For the detail, favor the view that actually shows the feature you meant to remember.
Compare the three together before finishing. Do they look like a record of the same outfit? If the relaxed picture has an outer layer removed, consider whether you want that variation in the set or would rather keep a version with it on. Keep an unaltered copy if you crop or edit a favorite, and choose changes that still represent what you wore. A useful finishing decision is knowing when all three jobs are covered.
If you later want to browse seasonal clothing, our Party Outfits collection is a place to explore. For today's pictures, finish with what is already in front of you. Save your selected set somewhere you can find it, and use a caption that describes your own outfit or evening. A clear record, a favorite detail, and a picture that feels like you are enough to call the session finished.

Frequently Asked Questions
Do I need a camera or a special backdrop?
No. Start with your phone and an existing spot at home. Use stable support or ask someone to hold the phone, clear the space, and check a trial image. A special backdrop or a purchase is not part of this plan.
How can I show both the full outfit and its small Halloween detail?
Give them separate frames. Take one picture with the whole outfit and shoes visible, then a closer view of the detail with enough surrounding clothing to show where it belongs. Move hands or accessories out of the way if they cover the feature.
Can I use these photos for a Halloween challenge?
If you want to enter a particular challenge, check the actual organizer's rules and photo requirements before submitting. This guide does not establish a challenge or its entry conditions, and following these suggestions does not guarantee eligibility, selection, or a social response.
About COOFANDY
Founded in 2015, COOFANDY is a menswear brand created for modern men navigating work, weekends, celebrations, and everyday life. Its collection includes shirts, suits, pants, sweaters, and tees designed to help men build versatile, confident looks for different moments and personal styles. Guided by the belief that clothing can reflect confidence and character, COOFANDY focuses on making approachable menswear part of every stage of life.
COOFANDY in the Press
- Is COOFANDY Worth It? The $20 Shirt Test vs. Ralph Lauren, Express and 8 More Menswear Brands
- Best Picks: COOFANDY Shirts & Suits for Commuting, Vacation, and Wedding Season
- From Amazon Basics to 70M+ Customers: The COOFANDY Story Adds a New Chapter with Walmart Distribution


Leave a comment