


How to Tie a Tie Easy: A Complete Guide for Men
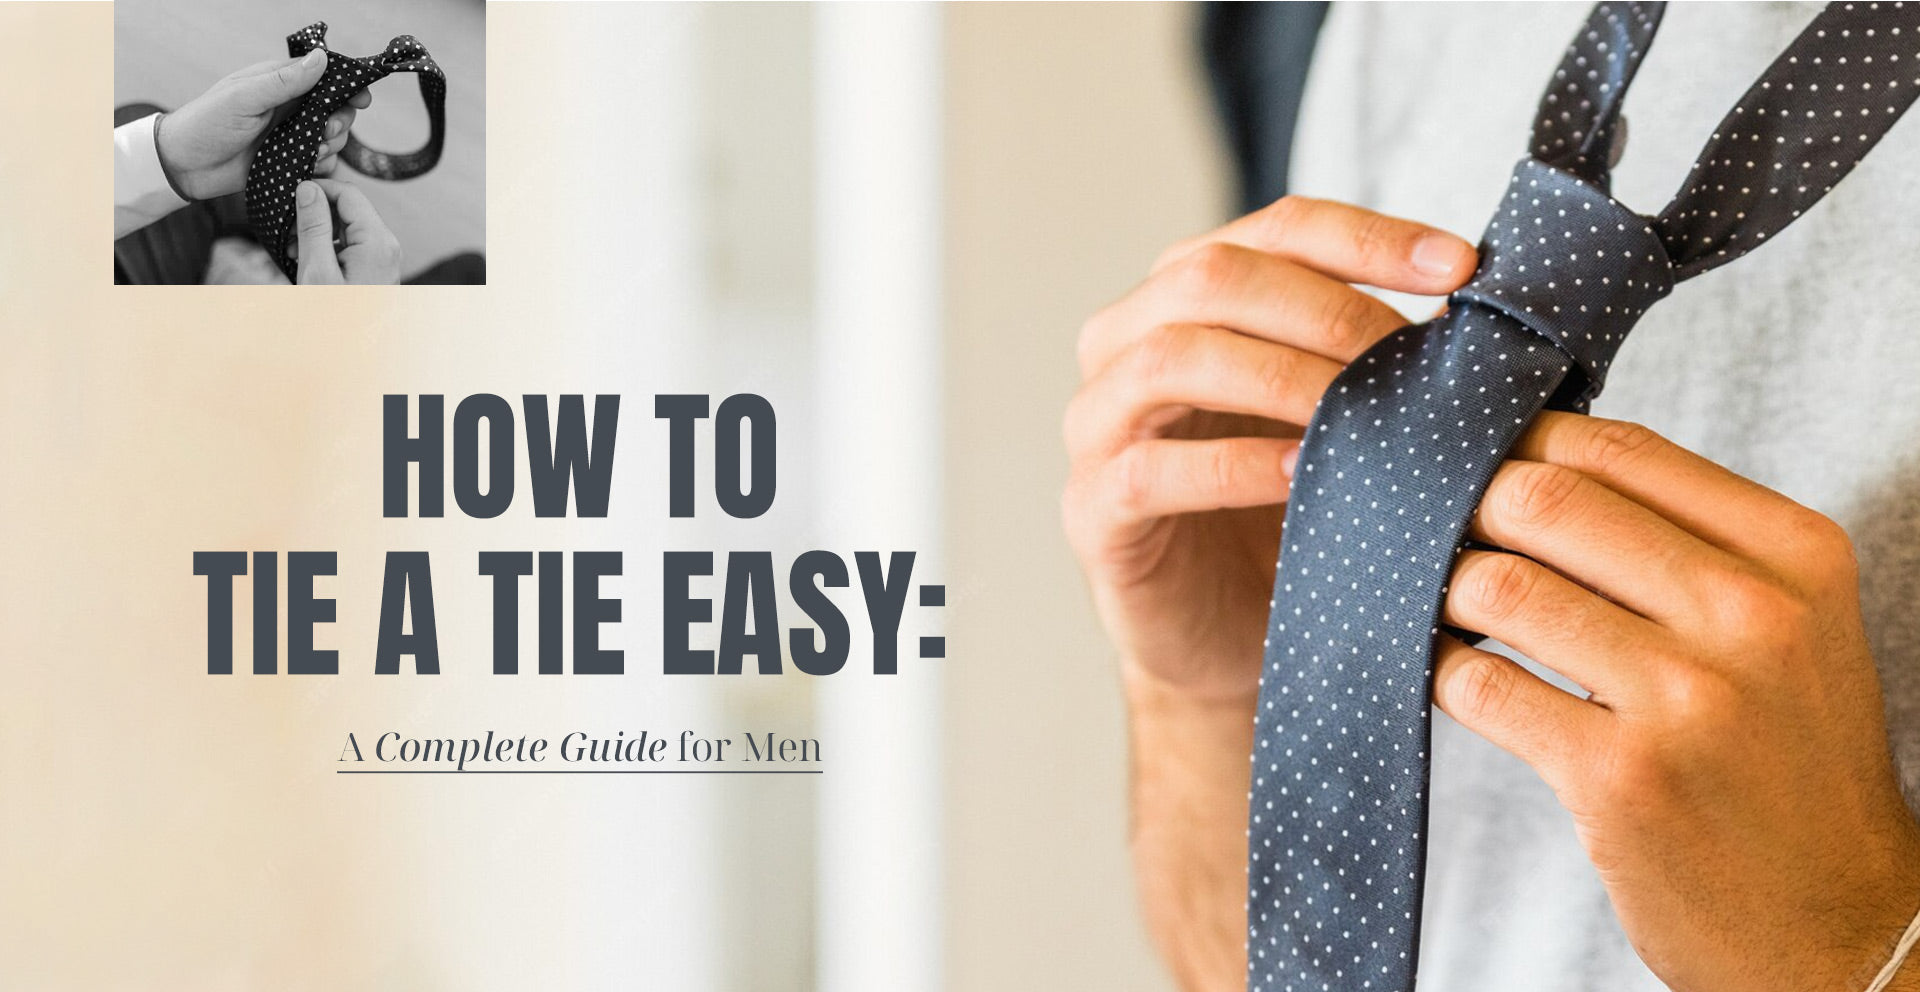
Are you trying to tie and tie while running late for an event? Don’t skip wearing the tie because it levels up your outfit. It gives a polished look. Tying a tie is not difficult. Every man should learn this basic skill. Learn it early, so you don’t have to hurry up at the last minute.
You will learn this trick once, and it becomes super-easy. It feels difficult initially. Don’t get frustrated. You need a little practice. Let’s begin without any delay.
Why Wearing a Tie Matters
People think about skipping the tie if they are getting late. Don’t make this mistake. While ties may not keep you warm, they serve a crucial symbolic purpose. It makes the outfit look 10 times better.
Tie shows that you put more effort. This is an indication of respect during a job interview or a meeting. A tie helps you stand out. A tie adds color that grabs attention. In Gen-Z terms, a tie enhances your AURA.
Types of Ties Fabrics & Styles
Before you even start tying, you should understand the type of tie you have. There are so many different shapes of ties. You can find them in numerous materials, but the most popular choice is a silk tie. Silk is smooth and shiny. Silk looks fancy, so it’s a wonderful choice for weddings.
You can also find polyester ties. People wear them while traveling because they don’t wrinkle. Wool or knit ties are not shiny. These fabrics have more texture, and it works better in the winter. Linen ties are extremely lightweight, which is why you commonly see them in summers.
Ties have different shapes. Traditional ties are wide. They give a professional and polished appearance. You can select any of these because all of them look beautiful.

How to Tie a Tie Step by Step
Let’s get to the main topic now. Stand in front of the mirror and take your time. If the first try looks messy, don’t worry. You can start it again.
1. Four-in-Hand Knot (Easy & Classic)
You will recognize this as the world's most popular knot because it is really very easy. It’s small and not entirely symmetrical. This is, in fact, why people like it. It looks natural and relaxed.
-
Start with the wide end of the tie on your right. It should reach about 12 inches lower than the narrow end on your left side.
-
Cross the wide end over the narrow end.
-
Move the wide end over the front again. It should be from the right to the left.
-
Pull the wide end through the loop around your neck. Pull it from below.
-
Bring the wide end down through the loop in front you have created.
-
Hold the narrow end and slide the knot upwards.
2. Half-Windsor Knot (Symmetrical & Professional)
Half Windsor is a little bigger than the Four-in-hand knot, but it is not too bulky. It looks neat and professional. Follow these steps;
-
The wide end should be on your right. The narrow end should be on the left.
-
Cross the wide end above the narrow end.
-
Pass the wide end horizontally behind the narrow end. Pull it up through the neck loop.
-
Circle it around the front from right to left.
-
Bring the wide end up through the next loop.
-
Pull it down through the loop you made at the front, and then cinch slightly.
3. Full Windsor Knot (Formal & Wide)
This knot has a bulky appearance, but it is professional. It has the shape of an equilateral triangle. Wear it for any formal event, such as a meeting or a wedding.
-
Begin with the wide end far below the narrow end.
-
Cross the wide end over the narrow end and bring it up through the neck loop.
-
Take the wide end down and under the narrow end to the other side.
-
Tuck it down behind and pull it up through the neck loop from front to back.
-
Twist it around the front and pull it up through the neck loop one more time.
-
Insert it through the front loop and tighten.
4. Bow Tie Knot Made Simple
Bow ties are kind of challenging, but they are fun. Doing one is pretty similar to tying your shoelaces.
-
Hang the tie around your neck. One side should be two inches longer than the other.
-
Bring the long end over the short end.
-
Pull it up from the loop in your neck.
-
Fold the short end into a bow.
-
Drop the long end over the center of that bow.
-
Fold the long end. Poke it through the little hole formed in the bow.
-
Pull the loops to tighten it.

Choosing the Right Tie for Any Occasion
The tie you have can modify the look of your outfit. The tie fabric should complement the dress and the event. It should be suitable for the gathering.
1. Work or Formal Events
A dark or monochromatic tie is recommended for the office or an interview. You can buy the basic colors, such as navy blue or maroon. These colors look classic and professional.
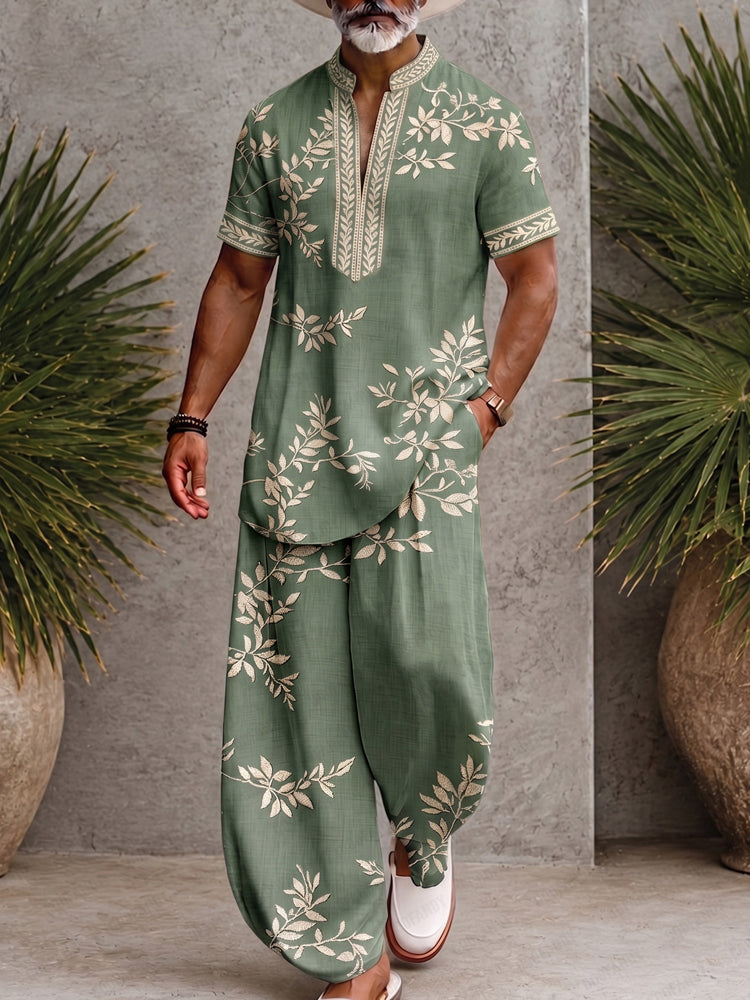
Wear it with a snuggly fitted blazer such as the COOFANDY Two-Button Business Blazer. This can make the tie pop without stealing its impact. The blazer gives your shoulders a nice shape and lets the tie be the star of the show.
2. Casual or Date Settings
Make a strong impression on your first date by being creative. Choose patterned or bolder ties. You can select a tie with some stripes or little dots.
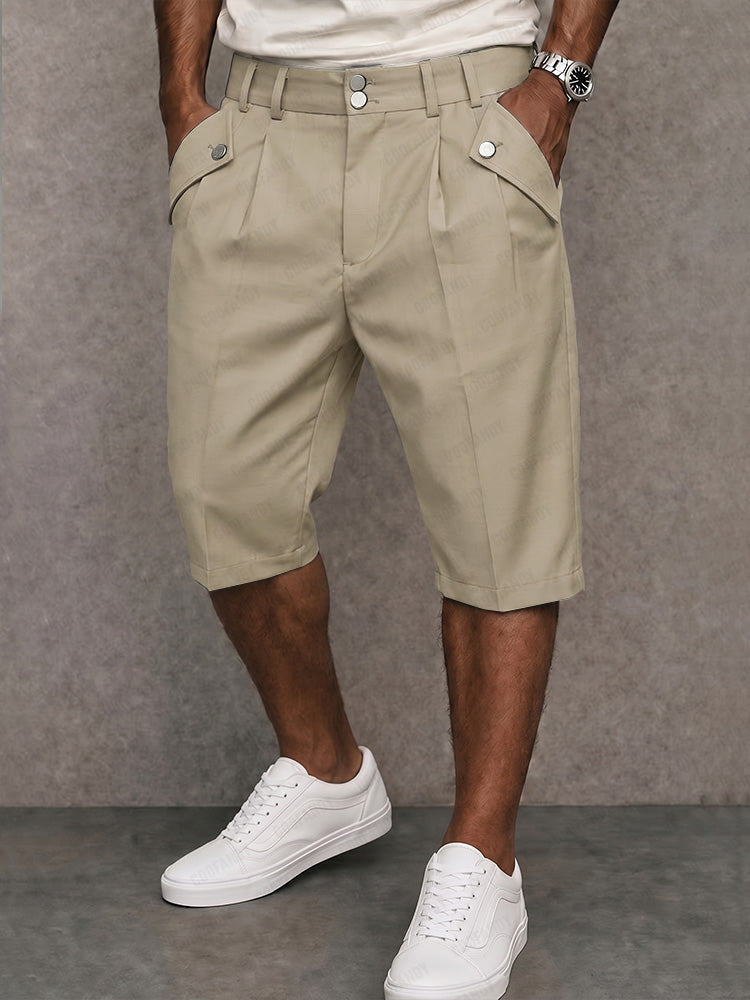
A simple cotton or linen jacket, like the COOFANDY Casual Cotton Blazer Jacket, can also be a good match with the tie. It makes the outfit casual but smart. You should look stylish, but don’t necessarily look like you’re off to a meeting at the bank. Linen jackets keep things cool and casual.
3. Versatile Ties for Multiple Occasions
When you are just starting, you do not need fifty ties. You need only a few good ones. Get a solid navy blue tie. Silk is the best choice. This can complement any formal or casual outfit. A grey wool tie is also a good choice. If you have these two, you are ready for most of the situations.

Styling Tips for Wearing a Tie Easily
After you wear the tie, here are a few tricks to look your best. It doesn't take much effort to make the tie look great.
1. Matching Tie with Shirt and Suit
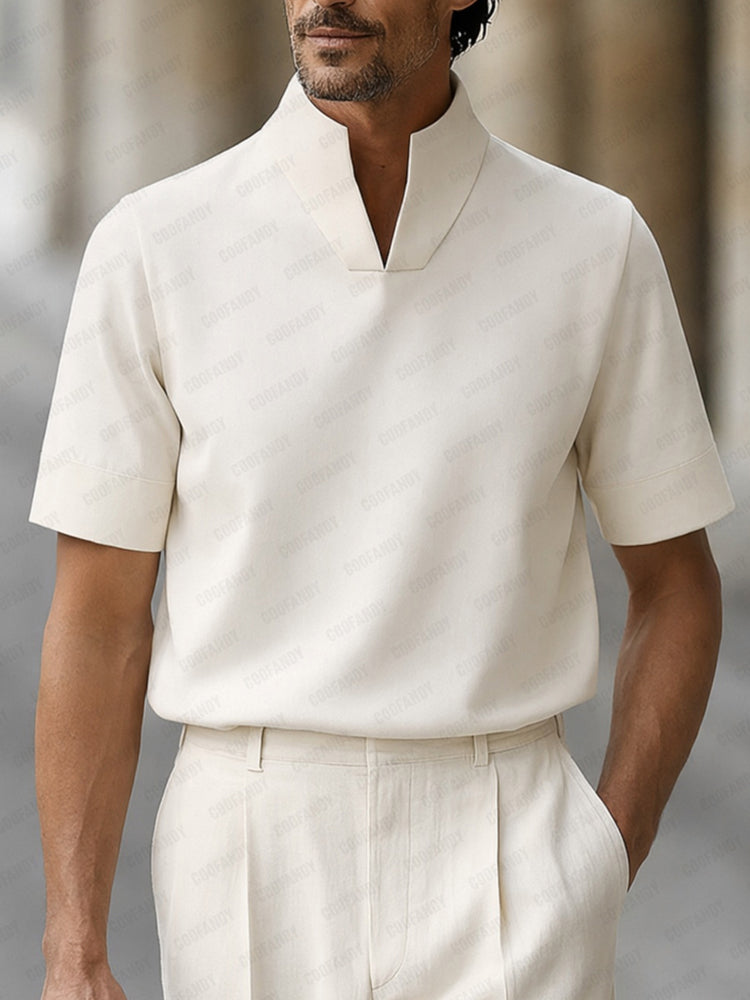
Buy a tie after you pick a shirt. If the shirt has a print, select a plain tie. If the shirt is plain, use a printed tie. The overall look should be balanced. Choose a relaxed-cut one-button blazer. It gives a formal look. Pair it with a stylish tie so it can pop.
2. Tie Accessories
You can prevent the tie from twisting by using a clip. This is a small metal bar that pins the tie to your shirt. It is very stylish men's clothing and keeps your tie out of your food. Make sure that the clip is not broader than the tie.
3. Common Mistakes To Avoid
The most obvious of these is the length. Your tie should just end at the top of your belt. If the tie ends at your belly button, it is too short. The tie going beyond the belt is too long.
A loose knot is another big mistake. Make sure to tighten the knot against your collar. The top button of your men’s shirt should be fastened and fully covered by the tie knot. Always untie your tie at the end of each day. If you simply hang it unknotted, you’ll end up with permanent creases.
Conclusion
It’s not that difficult to tie a tie. You have to follow a few steps and practice it a couple times. Juggling at the last minute is not a good idea.
Practice a day or two before, but tie the actual knot fresh on the day of the event to avoid wrinkles. Don’t forget to select a nice tie that matches your outfit.
FAQs
1. What is the Easiest Way to Tie a Tie for Beginners?
The four-in-hand knot is the simplest technique. It has fewer steps and is easy to follow. Many men adopt this style every day because it’s fast.
2. Can I Wear a Tie with a Casual Shirt?
This is a good option. It is very common for people to wear ties with button-down shirts. Better to wear a jacket like the Casual Slim Fit Suit Jacket. It gives it a balanced look.
3. How Long Should a Tie Be?
The wide end of your tie ends above the belt. Adjust the size before you tie it. If it still looks short or long, untie the tie and do it again.