


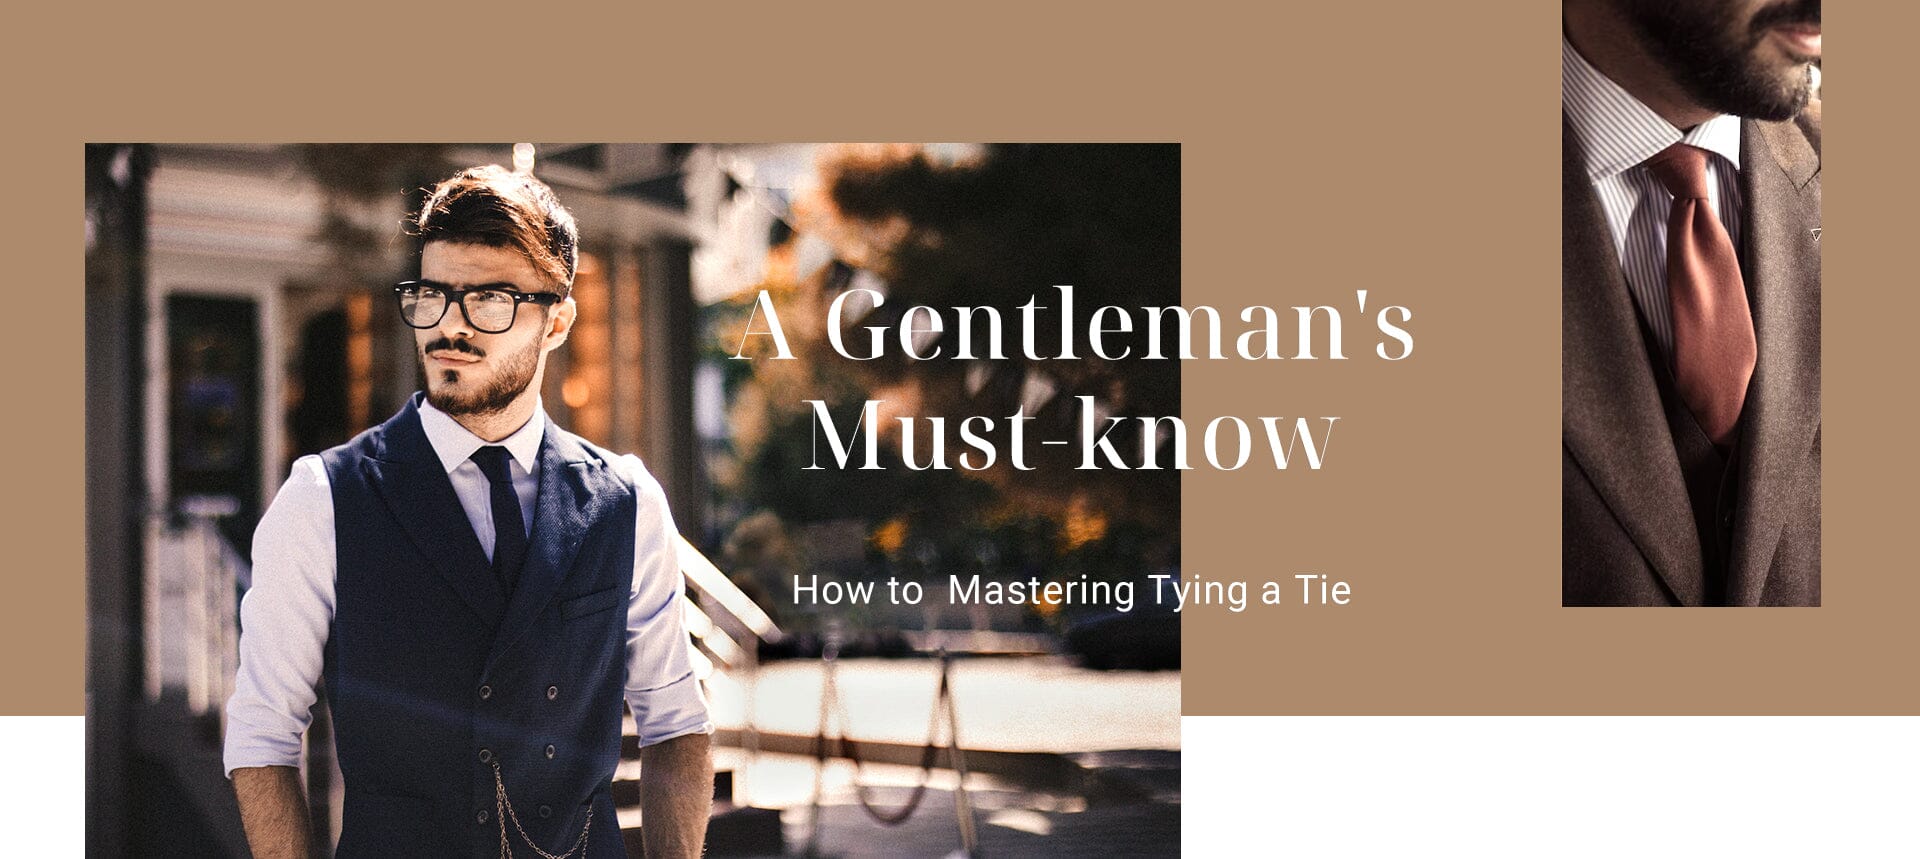
A Gentleman's Must-know: How to Mastering Tying a Tie
Navigation
- What You'll Need?
- Step-by-step Guide to Tying aTie
- Tips for Tie Tying Greatness
- Looking Sharp with a Well-Executed Tie
We've all been there before. You've got a big job interview, important work presentation, or formal event coming up. You iron your crisp shirt, slip on your suit jacket, shine your shoes...only to get stopped in your tracks at the sight of your tie dangling limply around your neck. No matter how polished the rest of your outfit, an improperly tied tie can undermine your whole look.
If you're like many people, you've tried watching online tutorials and following complicated diagrams, but still end up with a lopsided knot or too-short tail. Tying a tie can feel downright impossible if you don't know the tricks. Well, I'm here to tell you it doesn't have to be so hard. With just a few simple steps and some practice, you can tie a tie with confidence.
In this post, I'll walk you through a straightforward process for tying a classic Windsor knot. With the right guidance, you'll look sharp and pull together in no time. No more leaving the house feeling exasperated before your day has even begun. Let's conquer this tie challenge once and for all!

What You'll Need?
- A tie (duh). Any tie you have at your hand. We are taking the tie for practice,not for styling, so don't mind its color or design.
- A collared dress shirt. Button it up so you can properly adjust the tie knot to collar level.
- A mirror. Tying a tie is way easier when you can see what you're doing.
Step-by-step Guide to Tying aTie
Step 1: Start With the Seam Side Up
Flip up the narrow end of your tie so the seam side is facing up. This helps orient the tie correctly. Let the wide end hang down lower, which is crucial for the knot shape later. If the narrow end is dangling lower, you'll likely end up with an uneven, wonky knot.

Step 2: Cross the Wide End Over the Narrow End
Lift the wide end of the tie and cross it over the narrow end from left to right. Adjust so the wide side is now longer than the narrow side. This initial crossover sets up the knot base.

Step 3: Wrap the Wide End Under and Back Over
Here's where a bit of hand maneuvering comes in. Feed the wide end under the narrow side, moving right to left. Then bring the wide side back towards you over the front of the narrow end from left to right. Whew, cross under and back over - you've got this!

Step 4: Feed Through the Neck Loop
Next, take the wide end and feed it through the neck loop you just created from behind. This is a crucial step that tightens the knot. Don't yank too hard though or you'll cinch the knot too tightly!

Step 5: Wrap Around and Pull Through the Knot
Keep your non-dominant hand at your collar holding the knot loosely in place. With your dominant hand, wrap the wide side of the tie under and around the front, then down through the knot.

Step 6: Tighten and Adjust to Collar Level
Gently tighten the knot while sliding it up with your fingers to rest just at the collar. Be careful not to make it too snug against your neck. Leave a bit of room for comfort.

Step 7: Inspect and Perfect
Examine yourself in the mirror from all angles to ensure the knot looks neat and symmetrical. Adjust the knot or length as needed so both ends are even. Shake out any creases or folds.
And there you have it - a completed Windsor knot! With a few tries practicing these steps, you'll be able to breeze through tying a tie for any occasion.

Tips for Tie Tying Greatness
Here are some extra pointers as you work on mastering your technique:
- Start with a simple four-in-hand knot if the Windsor seems too tricky at first.
- Go for ties made of silk or wool versus cheaper fabrics that wrinkle easily.
- Match your tie's width to your jacket lapels and shirt collar.
- Limit loud patterns and flashy colors for professional settings.
- Make sure the tip of the tie reaches your belt buckle but doesn't go past it.
- Don't rush! Take your time and check each step. Speed will come later.
Looking Sharp with a Well-Executed Tie
Learning this subtle skill will serve you well anytime you need to dress up and look pulled together. No more being flustered when suiting up for an interview or scrambling last minute to Google how to tie a tie. With the steps down pat, you'll exude confidence.
Remember practice makes perfect. Don't get discouraged if your knots come out uneven at first. The more you do it, the more natural it will become until you can nearly tie a tie blindfolded. Okay maybe not that advanced, but you'll certainly get asked to help others with their ties.
Go give it a try and let us know how it goes! We are always happy to answer any tie tying questions. Now get out there are start impressing people with your sophisticated sense of style. If you find this article helpful, feel free to share it with your family or friends.